
About Eero In Bridge Mode, Eero devices brought by Amazon are great inventions that help bring internet coverage to those dead spots and areas with little bandwidth.
It is designed to look the same as routers but does not rely on any single Internet Service Provider (ISP).
Also, you can connect several Eero devices to maintain coverage throughout the house. But how?
You can easily set your Eero device in bridge mode, which we will discuss in this guide.
Table of Contents
- What is Bridge Mode?
- Should I Put My Eero in Bridge Mode?
- How to Setup Eero in Bridge Mode?
- How To Fix an Eero Not Connecting to the Internet?
- Is Bridge Mode Faster than Router Mode?
- Conclusion
What is Bridge Mode?
Bridge mode allows different routers to communicate on the same network. That’s a simplified description.
But suppose you look at it on a technical level.
In that case, bridge mode creates a mesh network on the extended router so that different devices connecting to both routers can communicate seamlessly.
The bridge-enabled router acts as a DCHP server with no IP address errors.
So, while every router has its IP address, bridge mode allows them to communicate and perform Network Access Translation (NAT) functions.
Should I Put My Eero in Bridge Mode?
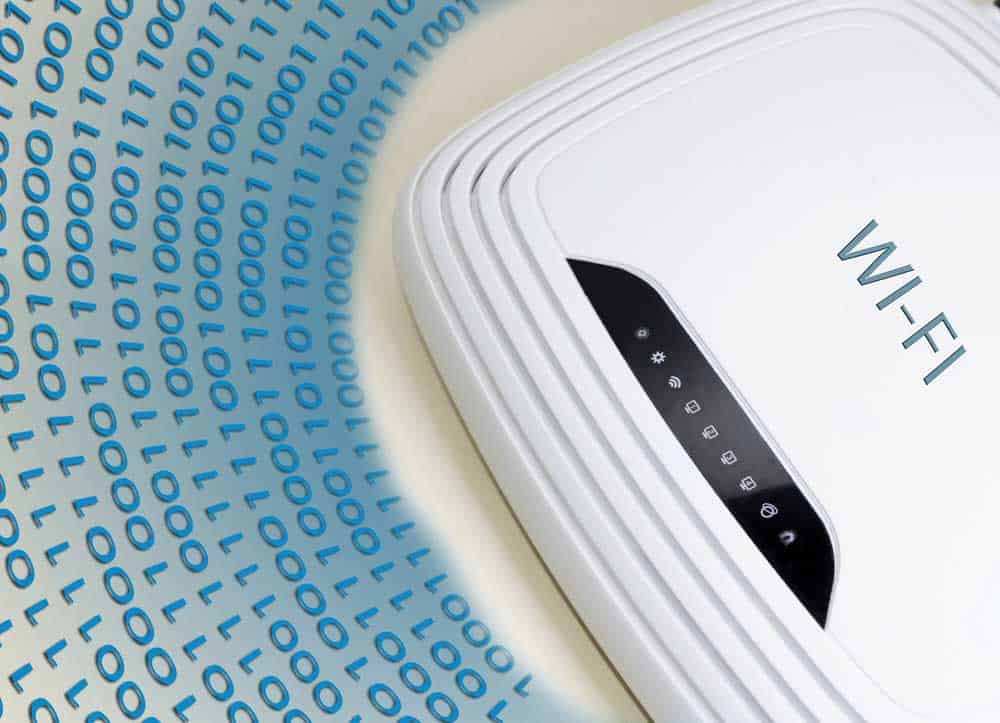
WiFi Router
Putting your eero in bridge mode depends on several factors. Ask yourself, do you need to have an extended connection?
Do you have multiple devices using the internet? If you answered yes, you probably need an eero in bridge mode.
This setting is more efficient when you have a router and a modem where one acts as an extender.
The Eero device in bridge mode will turn off some of its advanced features but will still let you access WiFi.
You will need one Eero device connected to an ethernet device and the other configured in bridge mode.
The network configuration should remain the same across all devices and pass through one Gateway.
How to Setup Eero in Bridge Mode?
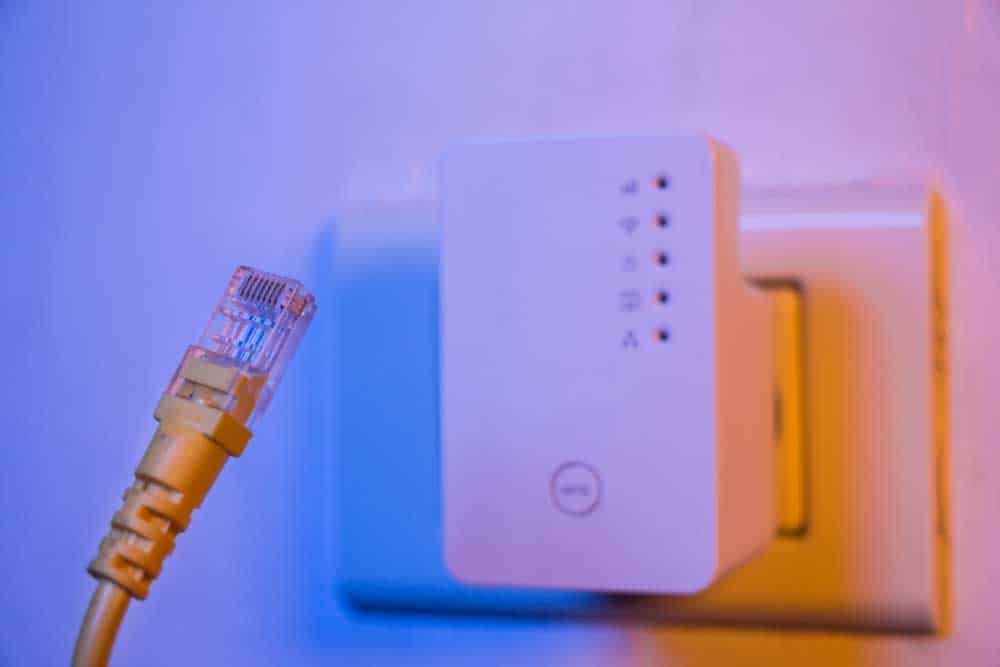
Ethernet cable on an extender device
- First, open the Eero mobile app and tap the menu button represented by three straight lines stacked vertically.
- Choose the “Network Settings” page and click “Advanced Settings” on the drop-down.
- Select DHCP & NAT
- Check the box on “Bridge” and wait for it to reboot the system.
- Once it reboots, your device will be in bridge mode, and all advanced network features will be transferred to the other Eero device.
How To Fix an Eero Not Connecting to the Internet?
Sometimes the eero may not connect to the internet due to several issues. Here are some quick fixes that work on most Eero versions.
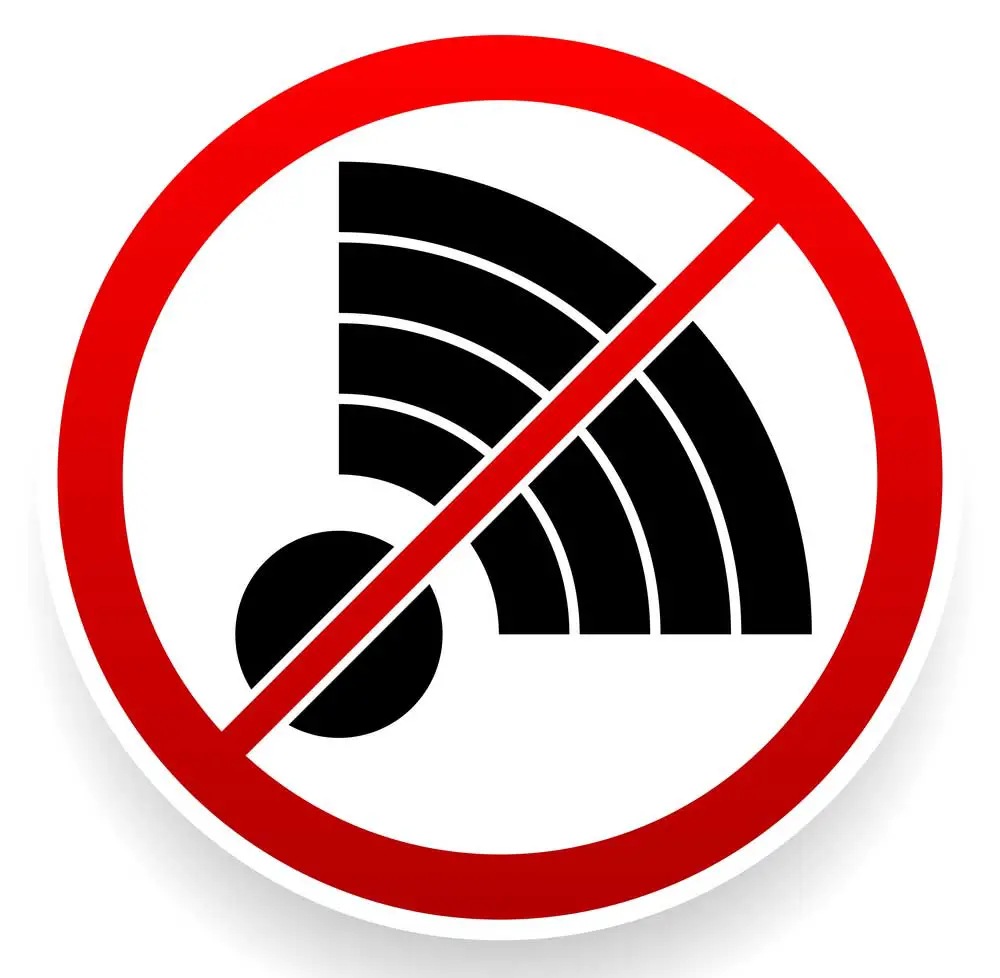
No internet slogan
Restart your Eero router.
Almost the first solution to any computer problem involves power cycling.
It is a process of plugging out the power cable and plugging it in after 30 seconds.
The method reboots the device’s system and fixes any temporary bugs and errors.
To do this on your eero, press the “reset” button on the router and check if the network refresh works.
If not, unplug the cables and give it a few seconds before plugging back in.
Check your ISP provider.
While the Eero device is responsible for spreading the internet in your house, it uses an existing network provided by your ISP.
Ensure the issue is not from your ISP by checking the internet cable. If it is plugged in correctly, check on the advanced settings page of the device.
You can also use the Eero mobile app to see if it receives internet signals from the ISP.
Bridge Mode turned off.
For the internet to come from your ISP device to Eero, there has to be a bridging mode to avoid IP errors.
Due to this issue, most connections do not get internet on the Eero system, and you need to locate the bridging mode on your router.
Refer to the device manual for further information about turning on the bridge mode.
Is Bridge Mode Faster than Router Mode?
Each mode has its perks and disadvantages, depending on your preferences.
Bridge mode uses two devices to form a single network that allows multiple connections, while router mode is the traditional way of supplying internet through a router connection.
In bridge mode, there is usually little to no configuration required. Since no traffic is routed to one network, bridge mode has the potential to be a bit faster.
Router mode, on the other hand, is best for improving network performance by monitoring traffic and ensuring it is sent more efficiently.
You may require a bit of configuration to get things right, but it is mildly technical.
The choice between the two modes can be challenging, depending on your preferences.
If you don’t need bridge mode, the router option is tested to provide better performance.
Wireless network connector to the device
Sometimes the Eero devices seem slower in bridge mode, but it has nothing to do with the network system.
The issue is almost always on the mesh positioning.
If you notice slower connection speeds, try repositioning your device and running online speed tests every time you place it in a new position.
Conclusion
Bridge mode is helpful when you’re away from your general internet set-up at home and need more WiFi coverage.
Thankfully, bridge mode is easy to set up and requires no additional requirements such as IP addresses, DNS, or Submask.
We hope this guide has all the insight you need to connect your Eero device in bridge mode.
