
A homemade Starlink mount can be important when you cannot access the official Starlink mount.
It is cheap to make, and you can also use it for other applications when Starlink sends you a new mount.
So why is a homemade Starlink mount necessary, and how can you create one from scratch if you don’t have woodworking and joinery skills?
This guide will detail how to do a DIY Starlink temporary mount and other critical insights.
Table of Contents
- Why build a temporary structure instead of a permanent one
- How to Build a Homemade Starlink Mount?
- Conclusion
Why build a temporary structure instead of a permanent one
There are scenarios whereby you could have received all your Starlink internet components, but the company hasn’t yet delivered the permanent mount.
So think of a case whereby you pay the $110 monthly fee but cannot connect to the internet because you lack a mount.
That money would be going to waste, so making a temporary mount as you await for Starlink to send you a permanent one makes sense.
Keeping your Starlink dish on the ground is also an option, but this comes with many bottlenecks.
So a temporary mount helps you in the following ways:
- It helps you create a setup that’s highly stable in windy conditions
- Also, the mount is key in elevating the Starlink dish to a location that is obstructions-free.
- It is easy to create and helps you start using Starlink immediately.
How to Build a Homemade Starlink Mount?
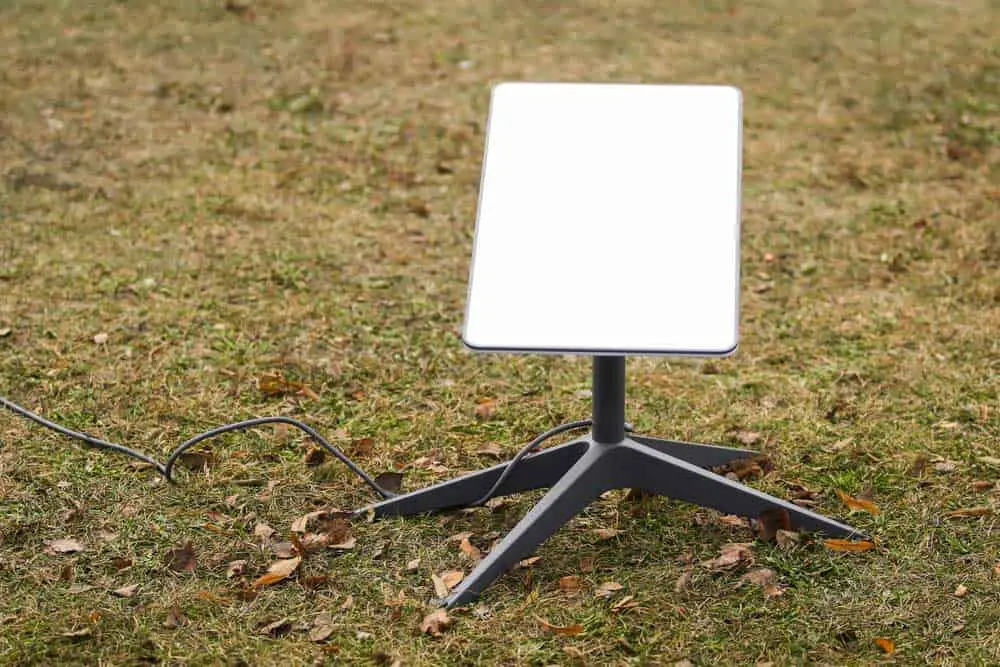
An antenna for receiving the Internet signal from space Starlink on the ground.
Primarily, you need to be a Starlink customer before making a mount.
Hence, if you are yet to register for the ISP’s services, visit the company’s official website first for registration.
You will be placed on a waitlist whose duration varies depending on the impending demand and the area where you live.
Next, after receiving the Starlink supplies, it’s time to build a homemade Starlink mount.
Assemble the Necessary Supplies

Wood Screws.
You will typically require five 2x4x8 beams of treated lumber to make your temporary Starlink mount.
Untreated wood will also do the job, as you won’t depend on it for a long duration.
Other Supplies Needed
- 36 Wood Exterior Screws- 2 ½ inches
- Four exterior wood screws- 4 Inches
- 4 Zinc plated fender washers- ¼ inch by 1 ¼ inches.
- Cable Clamps
Necessary Tools
- Pencil
- Impact Driver
- A chop saw ( could be a miter saw, handsaw, or jigsaw)
- Carpenter’s square
- Spirit Level
Make your cuts
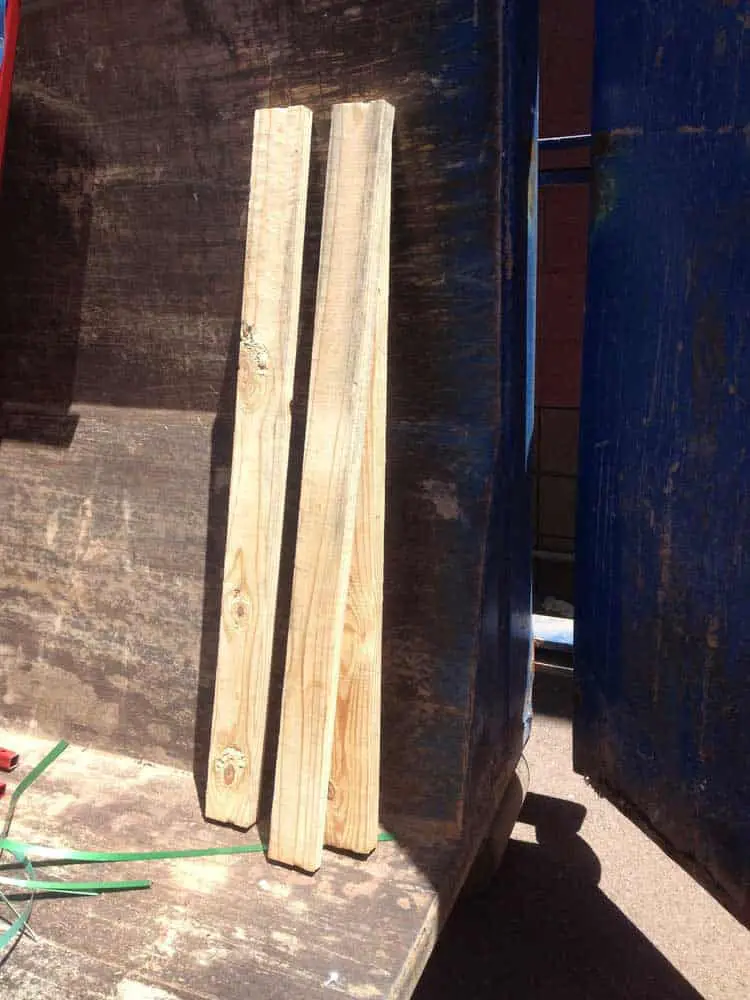
Three 2×4 wood planks.
After assembling all the tools and DIY homemade Starlink mount components, make cuts as per the following detailed cut list.
- 14 Inches- 4 cuts
- 20 inches- 4 cuts
- 65 inches- 4 cuts
Remember we said earlier that you need five wooden planks.
Check out the table below on how to go about the cuts without waste.
| 2×4 Wood Plank No | No of Cuts |
| First and Second wood planks | Each Wood Plank- One 65” cut and Two 14” cuts |
| Third and Fourth wood planks | Each Wood Plank- One 65” cut and one 20” cut |
| Fifth wood Plank | Two 20” cuts |
Generally, making the longest cut first is important to avoid wood waste.
Also, ensure you cut the line you mark on the wood.
Assemble the DIY Starlink Mount
Making the Header and the Footer
- Let’s begin by making the mount’s top and bottom as they are similar.
- You’ll need to set up two 20” cuts parallel to each other, then join them with two 14” cuts.
- To connect, use the 2 ½ inch screws to join them.
- Do this for the header and footer.
Installing the Header and Footer
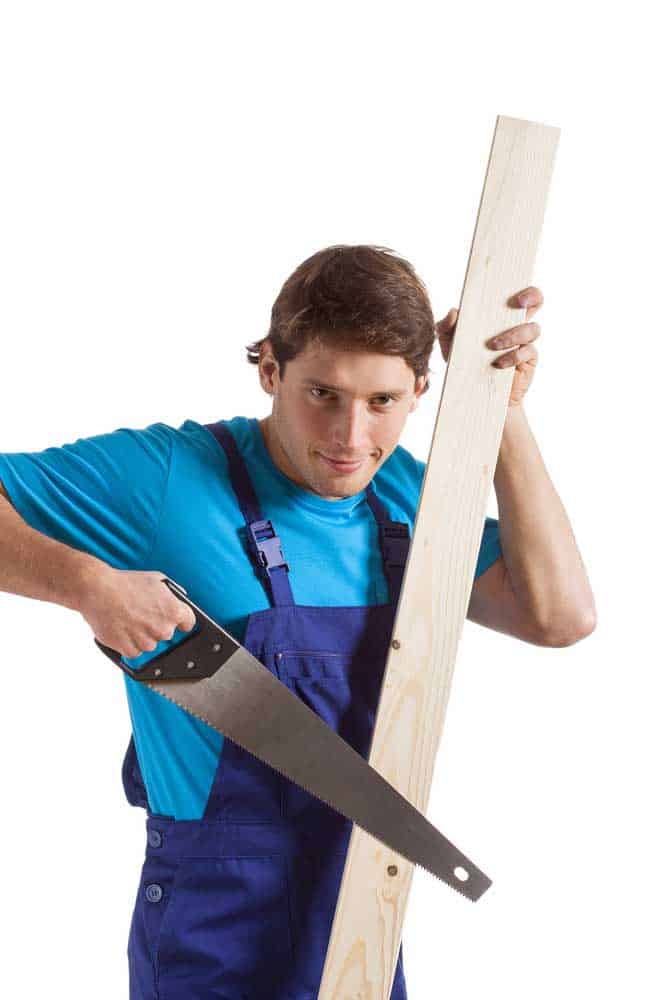
A man with a 2×4 timber plank.
- Let us begin with attaching the 65” cuts to the footer.
- First, lay the footer on the ground.
- Next, attach the 65” cuts on the corners of the footer and reinforce them via the 2 ½ inch screws.
- Once you’re done, turn over the structure to lay on the header and repeat the same process.
- Nonetheless, you must apply pressure to the legs when attaching the header to ensure they tightly fit onto the unit. Otherwise, your structure will be unsafe and weak enough to support the Starlink Dish in inclement weather.
- Also, consider seeking help, especially when driving in the screws, as doing it alone can be challenging.
Secure the Temporary DIY Starlink Mount
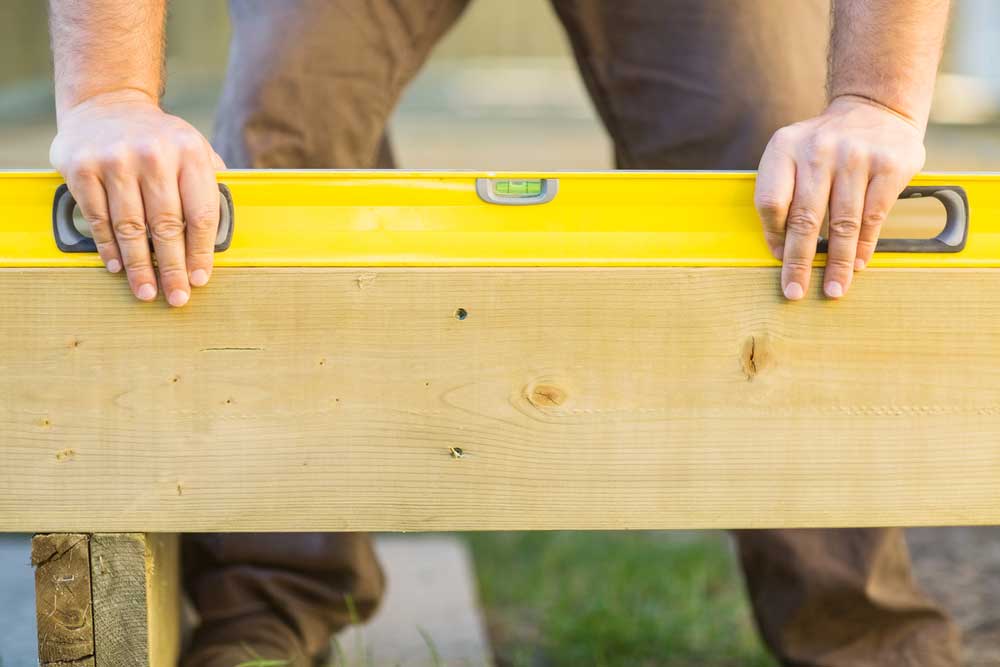
Checking if the structure is level.
Remember that your Starlink residential kit costs $550, which is quite some money.
Hence, it is important to ensure that although your mount is temporary, it’s strong enough to withstand storms and wind.
- Primarily, you must ensure that the entire structure is level. So check it out with a spirit level. If it is warped, the Starlink dish will most likely fall off.
- Next, level the ground with a shovel to ensure that your mount sits on flat ground. Check out if the ground is flat using the spirit level.
- You must firmly attach it to a permanent structure such as a deck using the 4 inches exterior screw.
Install the Satellite on the Mount
A Starlink Dish.
Attaching the Stalink dish to the mount is the final step in the installation.
The best dimensions for a secure dish mount are 14” by 24”.
Here’s how to install the dish mount to the temporary structure.
- You need to set the 2 ½ screws and washers. Drive each screw through a washer to reinforce the grip of the mount of the temporary structure.
- Next, secure each of the mount legs to the temporary structure. Ensure that each is strongly attached to the wooden structure, which is important in withstanding wind and storms.
Conclusion
Building a homemade Starlink mount is straightforward, especially if you have basic woodworking skills.
Nonetheless, even if you don’t have the experience, this article can be a handful in guiding you.
Hence, as you wait for Starlink to deliver their mount, go for the DIY option and enjoy the company’s fast and reliable internet.
You may also seek a carpenter’s help to make this simple structure.
