
As a Starlink customer, you may be concerned about how to boost Starlink wifi.
Starklink’s internet service uses signals from satellites that revolve around the low-orbit Earth to provide web connection.
Users in the remote regions using SpaceX’s satellite service are prone to experience snail pace speeds.
How do you increase the effectiveness of your router? This guide will look at probable solutions for extending Starlink’s wifi range.
We will cover everything from using Wi-Fi extenders to signal boosters and mesh kits. Keep reading this guide to learn these tips and tricks.
Table of Contents
- What is the range of a Starlink router?
- How to boost Starlink’s signal
- 1. Move the router to a higher ground
- 2. Use a Starlink ethernet adapter
- 3. How to Boost Starlink WiFi: Use a Starlink mesh kit
- How to set up a mesh network with Starlink
- 4. How to Boost Starlink WiFi: Use a Wi-Fi extender
- 5. How to Boost Starlink WiFi: Using Signal boosters
- 6. How to Boost Starlink WiFi: Use a third-party router
- Are there any downsides to Starlink mesh nodes?
- What is the difference between a Wi-Fi booster and an extender?
- How many devices can connect to the Starlink router?
- Conclusion
What is the range of a Starlink router?
The range of a standard Starlink Wi-Fi router signal is 200 feet. It is the equivalent of seven telephone poles, twenty full-grown African elephants, or Dubai’s world’s deepest pool.
A 200-foot range also occurs your Starlink router is at optimal performance.
However, obstructions may limit the range of your router. Obstacles like walls, trees, or other rock-solid objects within Starlink’s line of sight may shorten the wifi’s range.
If there are barriers, the Starlink signal reduces to 75 feet.
Therefore, keeping the line of sight of your Starlink antenna as clear as possible is advisable.
It ensures longer coverage and a stable connection from your router.
How to boost Starlink’s signal
The following are effective ways of increasing your Starlink’s wifi signal range.
1. Move the router to a higher ground

Wifi router next to a plant on a shelf top
Placing your router high above the ground is one of the methods to help improve the signal range. The technique is cost-free and easy at the same time.
If your router is low on your floor’s house, there is a high chance you are limiting your router’s potential. There are lots of hard objects on the floor surface that can block the strength of your signal.
You can relocate the router to the highest point of your home’s floor. Potential locations to place the Starlink router can be on top of a shelf or mounting high up on the wall of your room.
Remember to keep it away from objects that can disorient the signal. Microwave ovens, baby monitors, and cordless phones are potential signal obstacles to avoid as you place your router.
However, this method may not be an assurance that it will solve stability and range issues.
Microwave ovens, baby monitors, and cordless phones are potential signal obstacles to avoid as you place your router.
However, this method may not be an assurance that it will solve stability and range issues.
2. Use a Starlink ethernet adapter
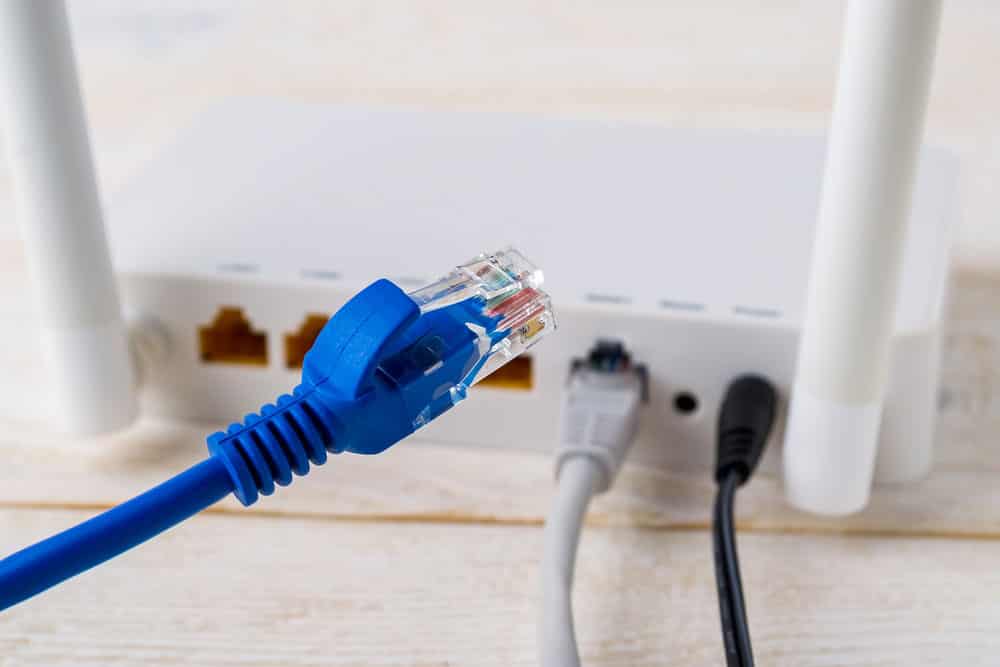
Blue ethernet cable and a router
You may consider using a Starlink ethernet adapter to improve your wifi’s efficiency.
The adapter is an accessory that adds a single wired connection to your Starlink internet. It is purchasable from Starlink’s online shop or authorized dealers.
The ethernet adapter links the antenna cable and wifi router. It features a single ethernet port that only works with the gen-2 Starlink (rectangular dish) models.
Connecting the adapter is also straightforward, as no electrical cords or extensions are needed.
Plugging in the adapter unlocks endless possibilities with wired connections. One of them is that it connects to other devices like printers and game consoles through ethernet cables.
Also, depending on your needs, you can add another router to the Starlink router.
Here is how to extend Starlink’s wifi range using the ethernet adapter.
- First, locate the cables from the bottom of your router. You will see two cables, one f powering the router and the other running from the dish.
- Unplug both cables to free the router. The ethernet adapter now comes in this step.
- Push the cable from the adapter into the router until it clicks. Connect the other cable from the dish to the adapter to link the router to the dish.
- Insert the power cable back into its port and turn on the router. Finally, you will have an ethernet port to connect your TV, PC, or gaming device.
3. How to Boost Starlink WiFi: Use a Starlink mesh kit

Illustration of mesh network signals
The Starlink mesh kit, a plug-and-play accessory, will solve your signal quality hitches. With the kit, you won’t need internet cables.
Therefore, a Starlink mesh kit is several Starlink routers or mesh nodes you connect to communicate with the main router.
The Starlink mesh routers will have the same physical characteristics as your router.
The bottom of the router features similar ports and power cords that you will find in your router. You can connect it to the dish and still function normally.
The mesh nodes expand the Starlink network signal to rooms in your house. The wall partitions block many wifi signals if your house has multiple rooms.
Thus, you can set up the mesh nodes in those areas with poor connections.
How they operate is simple. One mesh node gets the signal from the Starlink router and transfers it to the next node and the next depending on the number of mesh nodes. Then, it transfers the signal to the initial transmitter, the router.
How to set up a mesh network with Starlink
You require your Starlink application and the routers to be in the installation. These are the steps to help you how to set up a mesh network with Starlink.
- Scanning your home is the genesis of locating where to place the mesh routers. This step will involve exploring your home with the app’s built-in WiFi scanner.
- The Wifi scanner helps to reveal the spots around your home that lack a stable internet connection. On your screen, the scanner shows a heat map indicating the weak points and where the signal is strongest.
- Collecting the results should follow after you complete your house walk-around while scanning for signal loss. The results will show on your screen, revealing where there is a good network and where it is poor.
- Take one of the mesh routers to the room and plug it into the socket. As simple as that. Keep conducting the scans and adding routers as needed.
- While strategically positioning the mesh routers, your mobile phone will recognize new meshes. A notification will pop up each time, requesting you to pair the mesh to the router.
- Accept the requests to pair the meshes with your Starlink router. Eventually, you should see a new mesh network to connect to other home devices.
4. How to Boost Starlink WiFi: Use a Wi-Fi extender
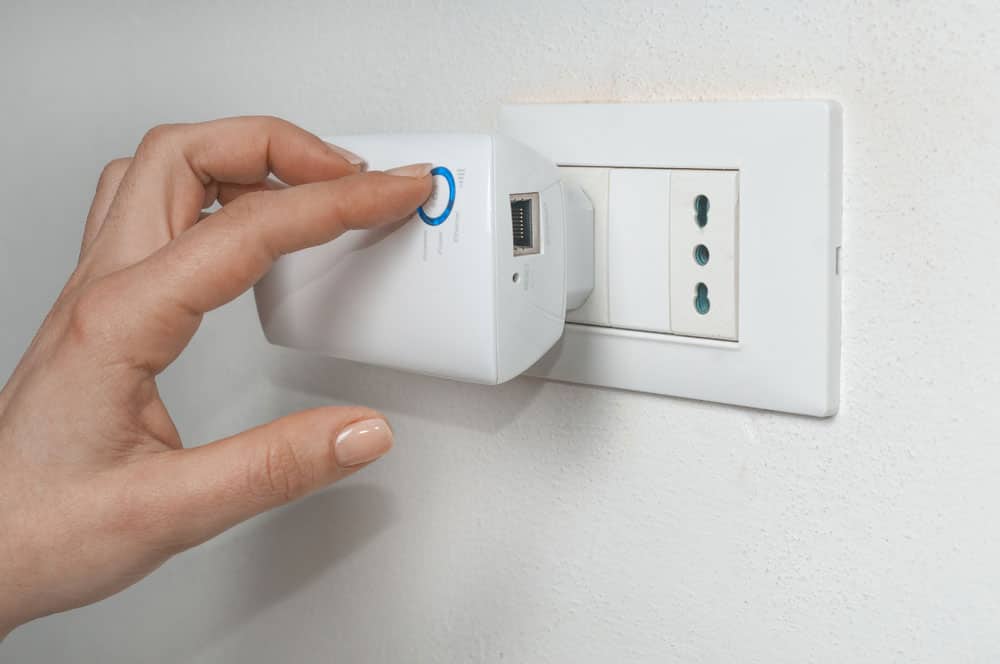
Turning on a wifi extender on a wall socket
Using a wifi extender also works if you want to boost Starlink range.
The wifi extender works by picking Starlink signals from your router and rebroadcasting them where there is a poor connection.
You can purchase WiFi extenders from a local shop or buy them online.
After buying a range extender, here is how to boost Starlink signals from your router:
- You must connect the extender to a wall socket to turn it on. The wifi extender blinks as it searches for a nearby router. You will notice the light blinking, and once it finds the router’s signal, the blinking will stop.
- In the list of available networks ready to connect your device, among them will be the new extender. If you try to connect to the network, the connection may not transmit any data. The reason behind this is that it needs configuration.
- Begin configuring the new network from the extender so that it transmits data signals. Here you will use your PC to locate the extender’s IP address which you will use in the next step.
- After finding the address, copy it on a browser and open it so that it reveals the admin page. Create an account on the page and generate a password to access the extender network. Remember to make the passcode strong.
- Next, the WiFi extender searches for your Starlink router. Find it among the network list on the admin page and customize the name of the extender.
- Once you finish the setup, the extender should turn light green to signify a stable connection. Close the admin page on the browser and then connect the devices to the internet at your pleasure.
5. How to Boost Starlink WiFi: Using Signal boosters
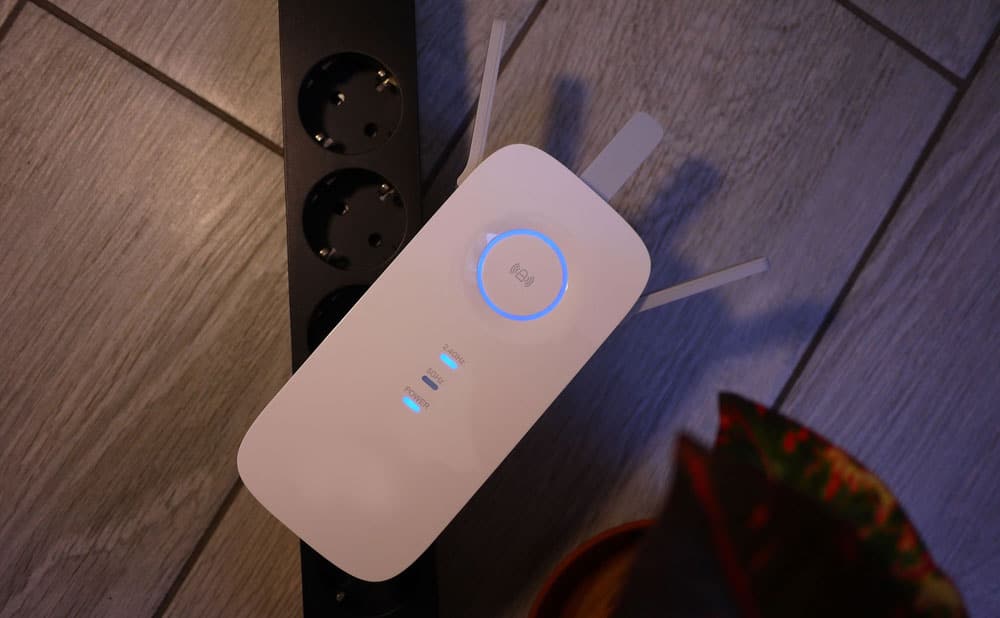
Wifi signal booster at home
Using signal boosters also helps your Starlink router provide a reliable and stable internet connection in your home.
Signal boosters amplify the signal from the router so that devices can have better reception.
Setting up a signal booster for your Starlink wifi is a quick task. Here’s how to do it.
- Start by plugging in the wifi booster to a power outlet to turn on the device.
- Once it has on, connect the booster to the Starlink router using an ethernet cable via the Starlink adapter.
- Pair the wifi booster with the Starlink router.
- The booster will discover your Wifi name and password that you can enter and connect.
6. How to Boost Starlink WiFi: Use a third-party router

Businessman using the internet from a router
Another tip that will help extend your wifi range is connecting another router with Starlink.
This trick works for users with both the round and rectangle dish models.
When using the 1st generation, Starlink follows these guidelines.
- Plug the other router into a socket and connect it to the Starlink router using a WLAN cable.
- Wait a few seconds for the red light to turn green on the router
- Finally, find the new network and enter the password to connect your devices.
The steps are similar if you have the second-generation Starlink but need an adapter to provide a wired connection. The first models have an ethernet port, while the latest models lack one. Thus, gen 2 routers need an adapter to add another router.
Are there any downsides to Starlink mesh nodes?
Although Starlink mesh nodes are easy to install and pair with your router, they have disadvantages.
For instance, renaming devices on the network is impossible.
The names you see on the mesh nodes are mesh 1 or mesh 2, depending on the number of routers in the network.
Additionally, Starlink mesh nodes do not supply data usage statistics, a feature you will find with third-party models.
Another failure of Starlink’s mesh nodes is that they use the outdated Wifi 5 for connectivity.
Other mesh network options available in the market offer Wifi 6 support which has high performance.
Starlink having dual-band mesh nodes is also a drawback.
In addition to the 2.5GHz and 5 GHz that come standard, most third-party mesh nodes have a third band.
The extra 5GHz band helps the nodes communicate with each other.
However, Starlink will likely improve these features in the versions that roll out of their plants soon.
They already have the resources, technology, and workforce to make these updates available to their customers.
What is the difference between a Wi-Fi booster and an extender?
Where Starlink signals are weak, WiFi boosters and extenders augment them. These differ due to the mesh nodes and the cost of the extender.
The cost of WiFi extenders and boosters is typically higher than that of mesh nodes.
Nevertheless, they don’t perform as well as the costlier mesh systems.
How many devices can connect to the Starlink router?
A simultaneous connection to 128 devices is possible with the Starlink router and mesh nodes.
Conclusion
Poor internet connection is highly probable if there is low-range coverage from your Starlink dish.
With these tips, it is easy to boost your Wi-Fi range.
You can choose costlier options like Starlink mesh nodes or budget-friendly choices like Wi-Fi extenders.
