
How to Install Starlink Dish On Roof? Starlink has become the freshest internet solution as more people set up its dishes worldwide.
If you’re one of the folks who wonder how to install Starlink Dish on the roof, this is the right place!
Here, we’ll share anything and everything about Starlink dishes, from mounting to installation.
Read on to find the easiest way to set up Starlink’s internet.
Table of Contents
- How To Look For Obstructions
- The Adaptive Mounting Option: J-Mount
- Executive Starlink Roof Mount Option: Flashing Mount
- A Lasting Solution With No Drilling: Non-Penetrating Roof Mount
- No Roof? No Problem: Tower Mount
- Great For Outdoors: Pole Mounts
- All-Round Solution: Tripod Mount
- Using A Structure for Height: Chimney Mount
- For Temporary Mounting Solutions: Starlink Base
- How To Mount Starlink On Your Roof
- Wrapping Up
How To Look For Obstructions
Starlink needs a clear view of the sky, like most satellite dishes, to ensure it has the most airwaves from an orbiting satellite.
Sometimes the view is blocked by other buildings, trees, power lines, etc.
You can check for such obstructions in two main ways.
First, the Starlink mobile app shows you what’s in the way through the Obstruction Finder.
You need to stand in the position of the dish, and it will do a general calculation of obstructions.
Although intensive, folks can use the 100-degree rule to check for obstructions.
Starlink recommends 100 degrees field of view for the dish.
To do this manually, you can take a photo of the required location and take relative measurements using a protractor to calculate the field of view.
Once you have the view radius, see if anything is blocking the dish.
The latter is trickier and requires more calculations.
The Adaptive Mounting Option: J-Mount
The J Mount is a popular accessory for assembling dishes on different roof types or walls.
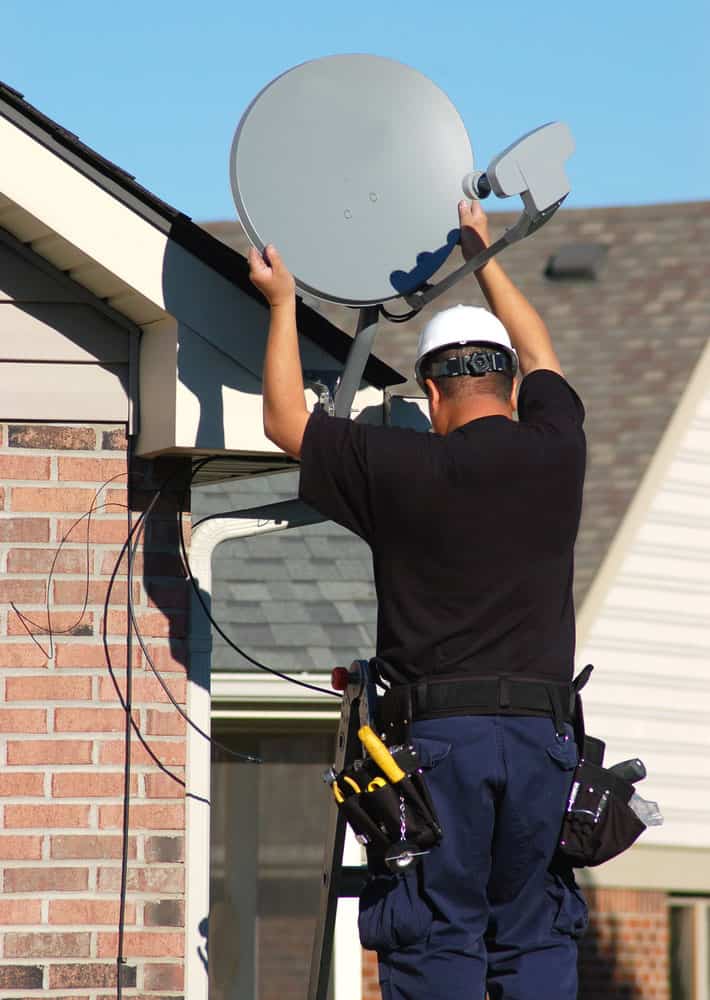
Worker installing a satellite dish.
The J Mount alone can’t fix the Starlink dish, and you’ll require a 1.5” additional adapter to fit the dish. U bolts will come in handy to keep the setup solid. Here’s a quick rundown of how to install the J Mount.
- Select a suitable location for your mount. Side walls are perfect as they don’t interfere with the roof.
- Choose mounting hardware. Wood surfaces always work well with lag screws, but concrete, metal, and others may need some consulting.
- Place the J Mount level on the desired area and trace the outline, including drilling holes.
- Drill holes for the screw and tighten the base when level.
- Set the J Mount at the right angles, fasten, and secure it to a Starlink dish.
Executive Starlink Roof Mount Option: Flashing Mount
Roof installations are normally tricky as they may cause leakages or poor aesthetics. The flashing mount is one of Starlink’s top picks for neat roof installations.
It features an S-shaped layer that fits beneath the roof’s upper layer, giving a professional look. While the flashing mount has a good base, a J Mount is necessary to provide extra anchorage to the dish.
There are tons of Flashing Mounts online, and The CommDeck Satellite Mounting System is typically an affordable alternative.
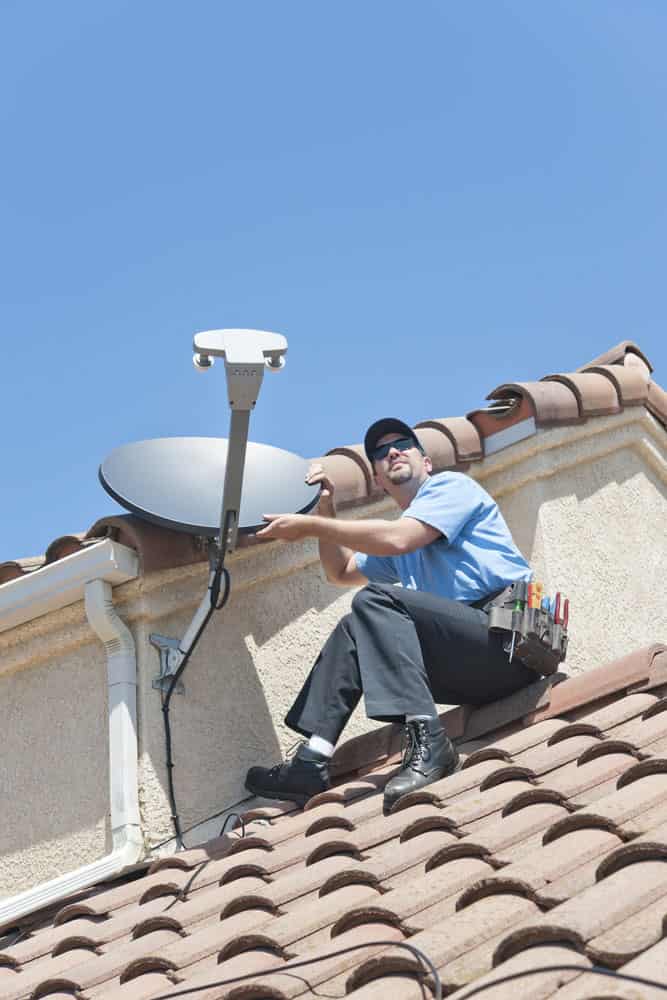
Installation of satellite dish TV system
A Lasting Solution With No Drilling: Non-Penetrating Roof Mount
The non-penetrating roof mount is an easy fix for installing your dish without drilling the roof.
Its ridgeline base structure mimics most roof types and lies perfectly on both sides of the roof for better stability.
Each side of the base has weights like concrete or metal blocks that stabilize the mount on the roof. Starlink has a non-penetrating roof mount that even works on flat roofs.
The mount gives your roof a clean look, although it’s likely prone to bad weather conditions.
No Roof? No Problem: Tower Mount
Not all roofs are suitable for Starlink dishes. Some people live in bustling apartments or country homes where obstructions are almost impossible to remove.
Such areas may need a better solution than installing Starlink on the roof.
A tower mount has enough height to surpass these obstructions and get a better field for the dish. They can be as tall as 8 meters.
Tower mounts are vital internet accessories in harsh environments and dense locations. Since installation is a bit complex, we recommend hiring a professional to do the job.
Tower Mount installations may require accessories like pipe adapters, screws, and bolts to fit the satellite dish properly.
Great For Outdoors: Pole Mounts
Pole Mounts are great mounting alternatives if you want to set up your dish in an open space.
They require minimal installation (no ladders) and are available on Starlink’s official website.
If the original mount is too expensive, you can make a DIY version using a pipe adapter and a 2” diameter pole.
Just be ready to secure U-bolts and do a few adjustment calculations.
Pole Mounts may not be suitable for areas with plenty of trees.
All-Round Solution: Tripod Mount
Tripods provide an excellent alternative if you want to mount on a flat surface but at a greater height.
It is practical in permanent and temporary installations, and you can pin the pods directly on the ground for stability.
You can secure the three pods on flat roofs using accessories like steel holders or metal strips.
While Starlink does not sell tripods, you can easily find alternatives online. You may need to do some modifications to fit the Starlink dish, but the clamps will be worth it.
Tripod Mounts may not withstand windy environments. They also take up quite some space.
Using A Structure for Height: Chimney Mount
Chimneys can help your roof installation when you need more than the roof provides. Chimney Mounts provide an ideal structure as they fit different chimney types.
It is easy to install this kit, and you need a supply mast and metal straps to keep the base firm and steady. You can add the Starlink Pipe Adapter for better support.
The only drawback to these mounts is that not all chimneys will be compatible, and some may be too big or small.
For Temporary Mounting Solutions: Starlink Base
Starlink’s router package has a base that can double up as a mounting kit. It is suitable in a yard with no obstruction or a flat surface on your premise.
It is a temporary solution since no screws or drills attach the base to a surface. The Starlink base is also helpful to keep your installation mobile.
As mentioned, it is a temporary solution, and we don’t recommend the Starlink base on pitched roofs.
How To Mount Starlink On Your Roof
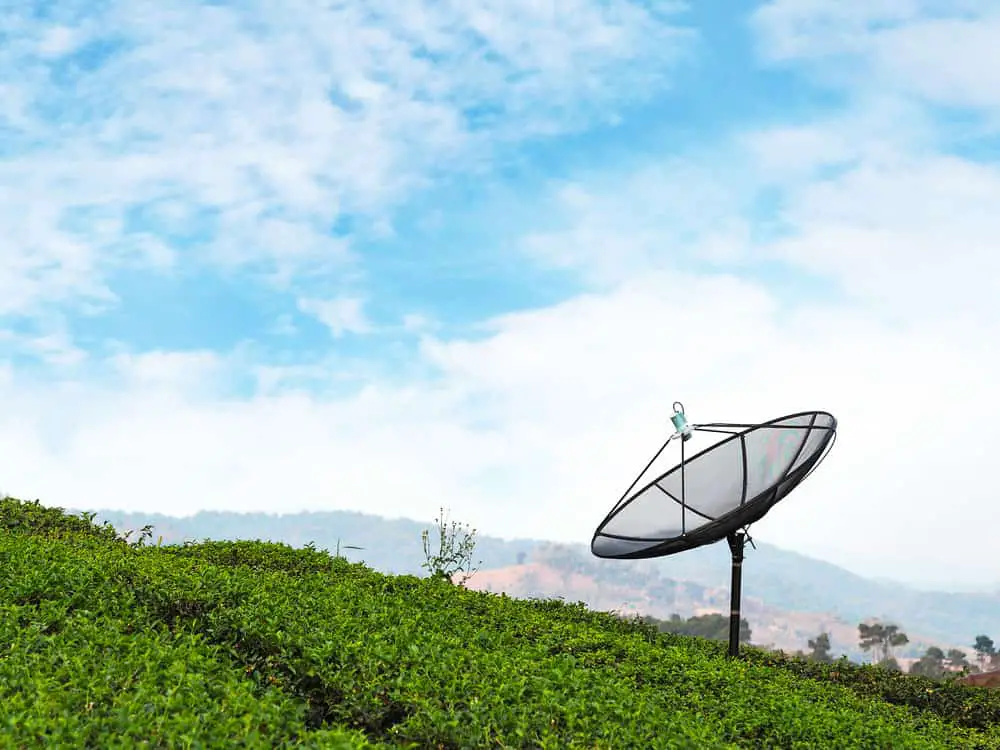
Satellite dish in green tea farm on the mountain
Wondering how to mount Starlink Satellite on the roof? It is easy once you have all the necessary equipment and tools.
Depending on the type of roof, chimney, and obstructions, your installation process may differ slightly. Luckily, they all follow the same general steps as shown below:
- Plan the setup from where the wires will pass, the dish position, and the drilling holes.
- Once you have this figured out, start drilling the required points and place the mount where you traced it.
- Tighten the bolts and clip the Starlink dish in place.
- Route the cable, probably beneath the shingles, and clip in intervals of about 8 inches.
- Finalize the routing and bring in all wires in one place where you’ll mount the router.
- Test out everything and check if you’re good to go.
Wrapping Up
There are several ways to install Starlink, and this guide helps install the dish on your roof. You will require a few accessories for roof installation, including mounts, base plates, bolts, and screws.
While Starlink offers some of these accessories, aftermarket versions will work well. We hope you can install Starlink on your roof or any flat surface as long as there are no obstructions.
