
About Photo of Starlink Satellites, By March 2023, Starlink had launched over 4000 satellites and continues to launch more in the quest to provide speedy internet.
But apart from reliable Starlink internet, what if I tell you there is another way you can use Starlink satellites? – photography.
Yes, photos at night look cooler when you add a sky dimension and, more so, when you capture a satellite.
Now, stick with me as I show you how to set up your camera and take a photo of Starlink satellites in your backyard.
Table of Contents
- Camera Kit Required For Shooting
- Finding The Location of The Satellites
- How To Set Up The Camera
- Photography Skills
Camera Kit Required For Shooting
When you want to take high-quality photos at night and especially for satellites, you cannot rely on a phone camera.
You will require some specialized equipment for excellent results.
With that said, let’s look at the camera kit you require for satellite photo-shooting endeavors.
- A DSLR camera with exposure delay mode, self-time, and manual capabilities
- Tripod
- Wired or wireless remote with shutter control function
- Spare camera battery (ensure they are fully charged)
- Wide-angle lens
- Properly calibrated night sky app or compass
- Some gloves and warm attire to ensure you don’t freeze
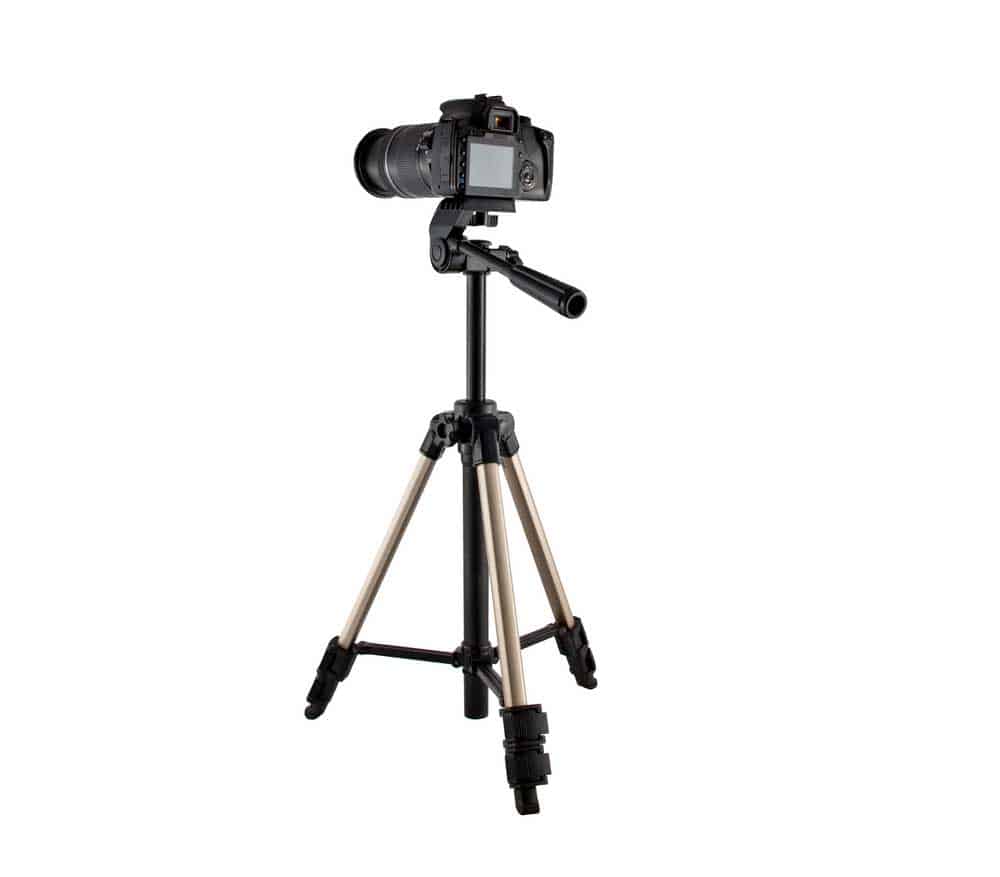
A camera on a tripod
Finding The Location of The Satellites
Before setting up your equipment, you should find an appropriate location and get the timing right.
But how do you identify an optimized position and proper time? Let’s discuss that in detail.
Proper timing
First, satellites do not emit light, so it may be difficult to identify them during daylight or deep in the night.
Instead, they reflect light from the sun.
Hence they are more prominent during twilight. I.e., near dusk or dawn.
At this time, the sun’s rays can reach the satellite maximumly for reflection.
The satellite viewing period is the longest in the northern hemisphere’s north altitudes, from May to July.
This is when the sun does not get so deep in the horizon.
Additionally, you need to check the weather forecast in your region (use the Met Office) before setting up your camera.
While the forecasts may not be accurate, they give you an idea of when the sky is extremely clear.
Like in viewing the stars, it is also impossible to see satellites when the sky is cloudy.
Again, you do not want your equipment to get rained on while shooting.
Appropriate location
You can easily view the UK’s Starlink satellites appearing from southwest to east.
You can also use online resources such as findstarlink.com to get the accurate appearance time in your location.
For urban dwellers, travel upcountry for excellent astronomical photography.
This is because urban areas have extremely high light pollution, which lowers the quality of your sky photos.
You may also use resources such as Darksitefinder.com to know the light pollution in your residence.
Steps to spot Starlink satellite in your area
The easiest way to find Starlink satellites is to use an updated smartphone night sky app, a compass, and findstarlink.com.
However, if you do not have the said resources, you can locate the satellite manually.
The method involves first finding the Polaris star using the following process:
- Identify the Ursa Major constellation, also known as the great bear. You can easily find it since it appears more like a saucepan.
- Look for the end of Ursa Major, and follow Merak and Dubhe. (These are pointing stars used to identify the true north)
- Construct a straight line up to the nearest brightest star, and this is Polaris.
- When facing Polaris towards the north, the south is behind you, while the east and west are on your right and left.
- Now you can refer to the Starlink locator website to know where and when the satellite will appear.

Ursa major constellation
How To Set Up The Camera
Setting up the camera requires precision to ensure professional-like high-quality images.
You can utilize different camera settings, but consider optimizing the little light available since the sky is dark.
Use the below steps to set your equipment properly:
Keep the camera fixed and steady.
In this process, use a tripod stand to ensure the camera is steady and stable enough.
Holding the camera with your hands can cause unsteadiness leading to blurred satellite images, especially during a long exposure.
For this step, a columnless tripod is more appropriate since it is resistant to wind swaying compared to a columned one.
Alternatively, you can fix your camera on a window rail or wall, but for flexibility and stability, a tripod is ideal.
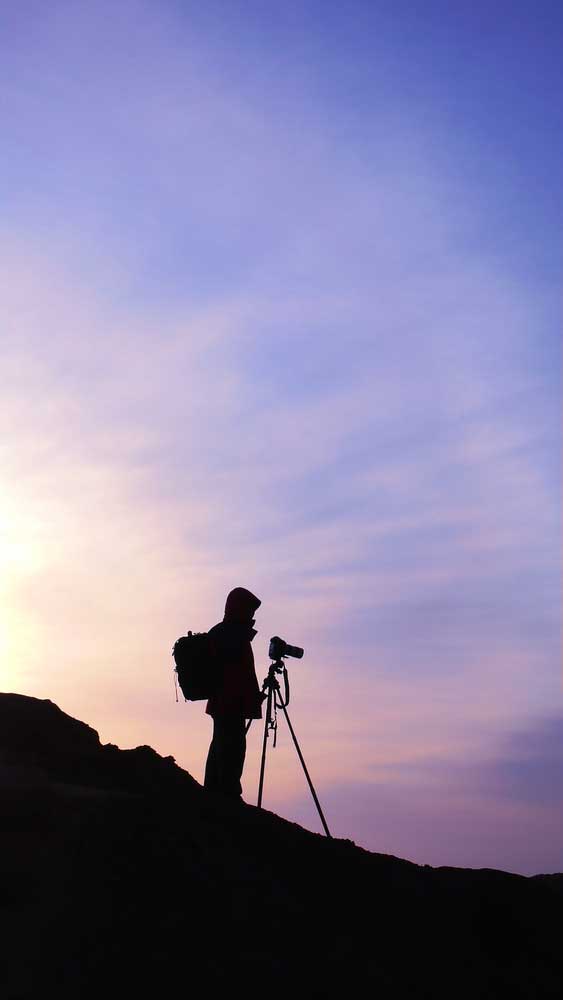
Setting up a camera
Point the camera where the satellite will appear
We already established you need to use a Starlink satellite locator such as findstarlink.com.
Now that you know when and where the satellite will appear, you should point your camera in that direction.
As we said, ensure the sky is clear for an enhanced shot.
Set proper aperture
Before you set the aperture, ensure your camera is in manual mode to give you full control of its functions.
Now, the aperture determines how much light can enter your camera lens.
More light gives brighter and superior images.
Since it’s dark, set your aperture to its widest possible settings, such as f/2.8 or f/1.8.
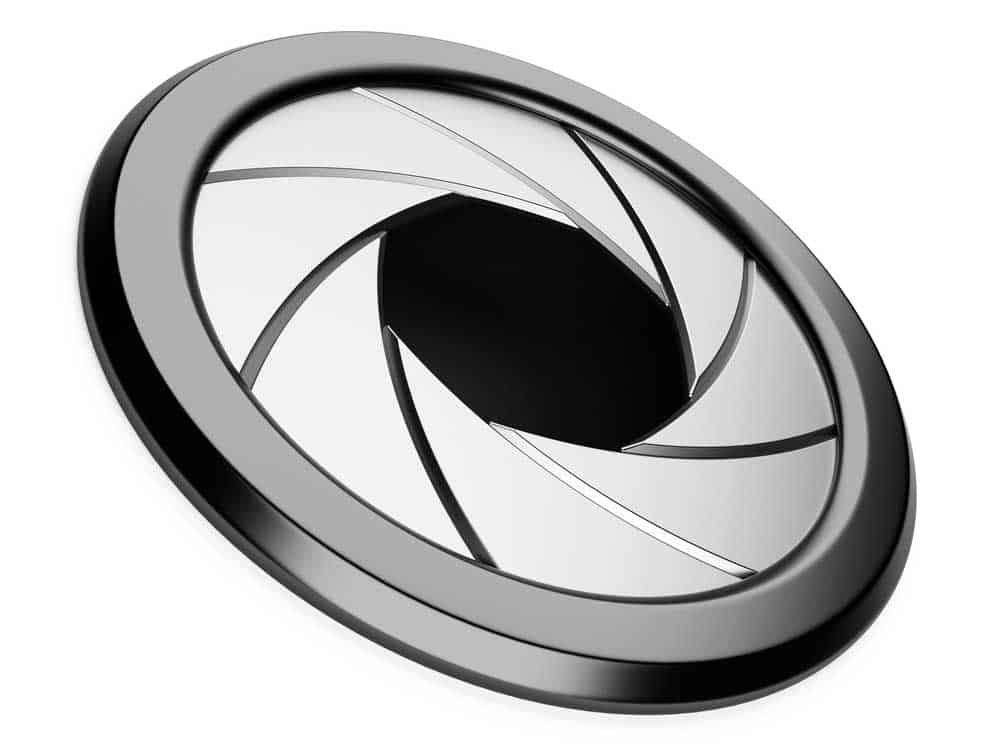
Camera aperture
Optimize the shutter speed
The shutter speed controls the image sensor’s exposure time to the light.
The long the shutter speed is, the bigger the satellite trail and the brighter it appears.
However, excessive exposure can lead to blurring since the satellite is not stationary.
Consider a shutter speed of between 10 to 30 seconds for excellent results.
Set a sensitivity ISO.
The ISO determines how much electric current flows to the sensor, thus determining its sensitivity to the available light.
Since it’s dark, I would recommend a high sensitivity, but observe how dark the sky is.
However, too high ISO can increase the image’s noise, reducing clarity and contrast. In this regard, an ISO of about 1000 would be ideal.
Capturing
Now that you have set up the camera, use the below steps to capture an image of the Starlink satellite:
- While your camera points towards the satellite direction, ensure the horizon is close to the frame for maximum sky capture.
- Use live view and zoom functions to focus on the brightest star in the sky
- Engage the focus ring until the star is sharp and small, then zoom back and let it sit
- Cover the viewfinder with its cap or tape to prevent light from destroying your image exposure
- Plug your shutter remote and make sure it is working. You can use the exposure delay mode if you do not have a remote. The idea here is to prevent vibrations when you touch the camera, thus causing wobbly images.
- Capture a few test images before the satellite arrives
- Check the histogram to gauge your exposure time. It should appear steep to the left, with some data flowing to the middle.
- Now you are ready to capture a Starlink satellite image.
Photography Skills
Here are some of the photography skills you may require to take Starlink satellite images:
- Setting up the camera and other equipment
- Creativity when taking photos from different angles
- Editing images using various software
- Ability to identify and differentiate between an airplane, satellite, and meteoroid
Conclusion
Starlink satellite photography is a fascinating endeavor.
You only need a few photography skills and how to set the camera.
You can also consider using online image editing software to crop out unwanted items and enhance appearance.
