
RV Mount For Starlink, While Starlink internet is one of the fastest for Rvers and campers, it poses some challenges regarding installation.
You can surely place it on the ground near your RV but how about theft and animal destruction?
Therefore, placing it on the ground outside may not be a good idea considering the huge investment involved.
Worry not because, in this article, I bring your viable options for RV mount for Starlink to consider.
Table of Contents
- Where Is The Best Place For An RV Starlink Mount
- Options For RV Mount For Starlink
- Can You Mount Starlink On An RV Permanently
- Conclusion
Where Is The Best Place For An RV Starlink Mount
As you may already know, Starlink dish installation requires an unobstructed sky view for enhanced satellite communication.
For such a spot on an RV, we consider the rooftop and the flagpole the best positions to mount the dish.
While the rooftop is the easiest installation, it requires an expert to avoid leaks and ensure a steady signal.
The other option is the flagpole which offers flexibility when adjusting your dish for signal reception.
Note that most mounting options limit your ability to adjust the position of the dish once installed.
Therefore, if you camp in a tree-obstructed area, park your van in a way to optimize reception.
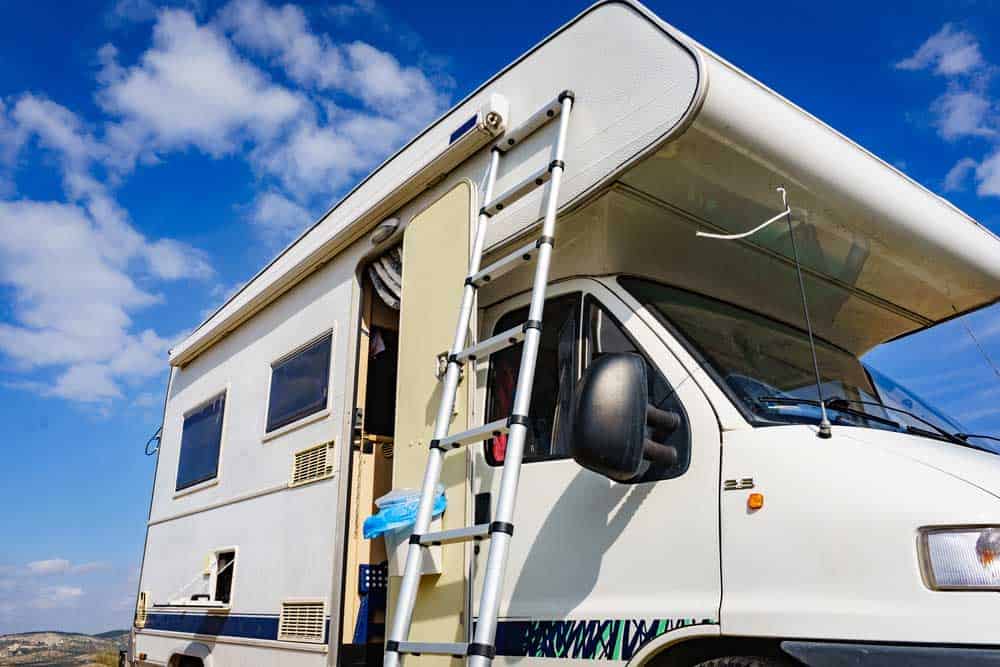
RV ladder
Options For RV Mount For Starlink
Here are some of the best options to consider for mounting RV Starlink:
Use The Included Starlink 4-Legged Dish Stand
The most seamless, free, and flexible method is to use the included stand.
This method has some advantages, including choosing the most optimal position on the ground.
You also do not need to pay a dime or risk climbing the ladder.
However, the method is prone to theft and damage from animals and human activities.
Additionally, there may be clear skyview blockage from vehicles, trees, and buildings.
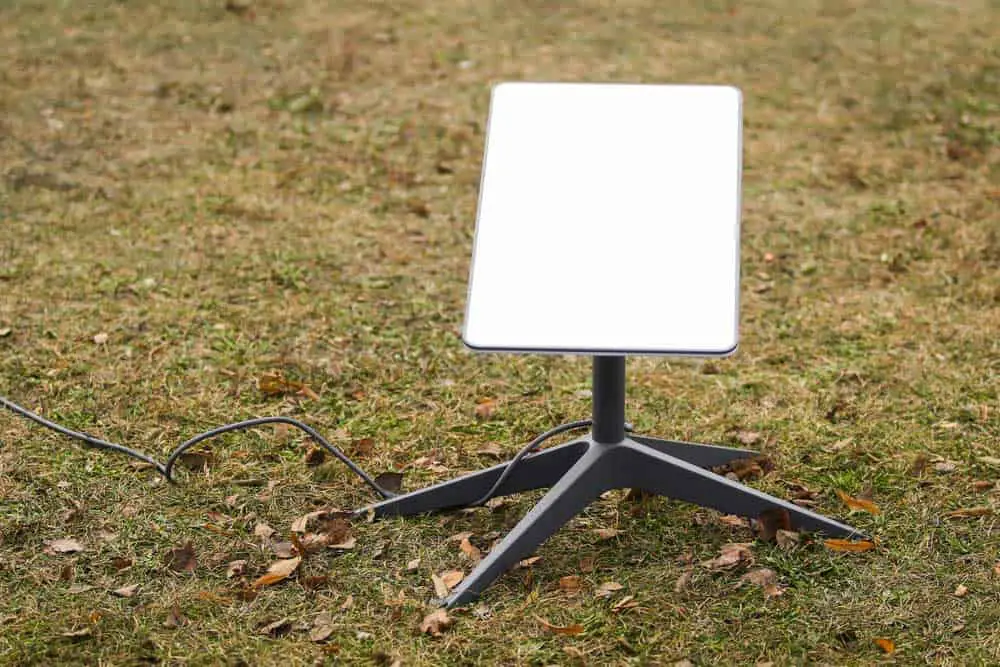
Starlink dish on the ground
Mount Your Starlink Dish On Your RV Ladder
Installing your Starlink dish on the RV ladder protects it from theft and animal damage.
It also raises it above the ground for a better sky view. Here are some affordable ways to mount the dishy on your RV ladder.
Axial Alloys Starlink RV Ladder/ Tubing Mount
Axial alloys are tiny, easy to install, and inexpensive pieces ideal for van life.
You must install them to your ladder tubings and then attach the dish.
The best thing is you do not have to take them off when driving.
But it is necessary to unclip the dish and store it before any tour.
Pyramid LED Whips Starlink RV Ladder Mount System
Pyramid LED whips are firm and easy-to-install alternatives for mounting your dish.
They feature the traditional RV ladder-mounting flagpole with a Starlink mounting kit at one end.
Armed with simple tools, you only need about 20 minutes to install this system.
It’s vital to note that you have to remove the dish and the pole before driving.
Flag Pole Buddy Starlink Mount
The flagpole buddy is similar to the pyramid LED whips, but instead, it features two poles.
These two poles ensure seamless installation without climbing the ladder.
They also enhance stability, especially in windy conditions.
Hitched 4 Fun Starlink RV Hitch Mount Kit
The hitched 4 fun kit features two sturdy 3.5 feet steel poles that connect to make about six feet.
It installs to your hitch receiver protruding to the roof. You can then attach your Starlink satellite dish to the protruding end using the Delrin plastic adapter.
Starlink Pipe Adapter
The Starlink pipe adapter is an inexpensive, easy-to-install method of securing your RV dish.
The adapter features a hole that can be installed in any 38mm pole diameter and some screws to secure the dish.
It is made of aluminum for enhanced durability and can install seamlessly anywhere without bolting.
DIY Flagpole Starlink RV Mount
If you are a DIY enthusiast, you can craft your pieces and combine them with some purchased kits.
Making your mounting kits can be satisfying and inexpensive if you have the right tools and skills.
Here are some crafts to consider for secure satellite mounting.
Hitch Mount Flagpole Holder
Using the Hitch mount flagpole holder is a convenient, easy-to-install, and stylish way of installing your dish.
This holder features a durable material construction that easily attaches to the hitch receiver of your camper.
You can then use a Starlink adapter to mount the dish on one end.
The best thing about this method is that it’s steady, and you can customize the pole length.
Harbor Freight Flagpole
You can purchase Harbor Freight Flagpoles extending between six to 20 inches.
These flagpoles also come in various prices ($10 to $100) and materials such as steel and fiberglass.
After you purchase the flagpole, you will need U-bolts to attach it to the RV ladder.
Then you will purchase an adapter to help you mount your dish on the flagpole.
Suction Cup Flagpole Mount
These are a convenient way of mounting the dish without drilling holes in your vehicle.
The method features suction cups made of plastic or rubber and brackets for attaching to the pole.
For stable mounting, use more than two suction cups and ensure the pole runs through the cups to the ground.
Speaker Stand
This is a normal four-legged speaker stand, giving an easy and cheaper option for mounting the dish.
While it may not offer a high mount, they get the dish off the ground from some obstructions.
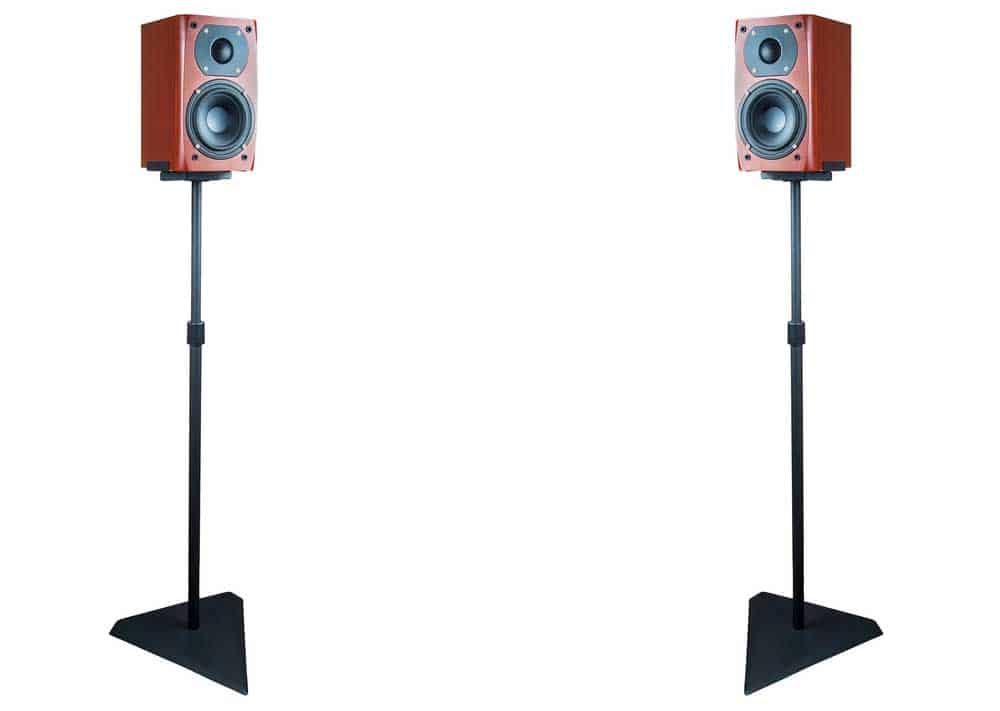
Loudspeaker stand
Roof Mounting Your Starlink Dish
RV roof mounting is an unpopular option due to the on-and-off climbing involved.
However, if you are for it, you can mount your dish using the following ways:
Include Tripod and Weights
This method involves placing the dish on the roof using the provided tripod just like you would on the ground.
You should not damage your RV roof when using this method.
Additionally, ensure you use some weights to keep the setup stable.
Starlink Pivot Mount With Magnet Mounting Brackets
When you consider a strong wind or storm can dismantle the tripod method, you might want to try a more stable one.
Here, you use Starlink pivot mounts which you can Screw on the roof of your RV for enhanced stability.
However, since the dish often requires uninstalling when on the move, consider strong magnets instead of screws.
Closet Channel Mounting Brackets
This method is a semi-permanent way that involves using channels that install LED strips on ceilings.
All you need to do is screw two channels on the roof of your RV.
Then you can use some wingnuts to hold the dish tripod in place. When driving, you can easily unscrew the wingnuts and unmount your dish.
Can You Mount Starlink On An RV Permanently
The simple answer is no. You cannot install the Starlink dish permanently on your RV.
First, the dish establishes a signal with the nearest satellites, which happens easily when the dish is stationary.
Additionally, you may encounter updating and hardware issues, not to mention breakage due to high speed.
However, you may still choose to install the dish permanently on your RV.
First, turn off the motor that automatically moves the dish when searching for a signal.
Then mount the dish flat on the roof of your camper. While this may sometimes work, it may result in slow internet since the dish does not automatically optimize its reception.
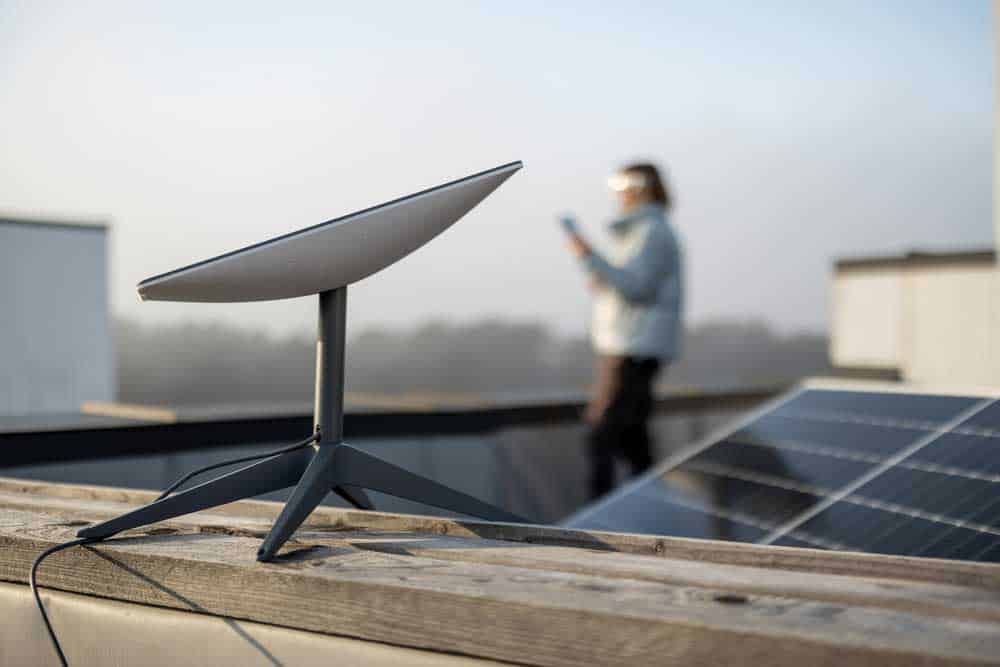
Dishy permanent installation
Conclusion
Several methods for Starlink RV mounting exist. You just need to find the right one and one that suits your needs. The aim is to have a clear sky view for optimum internet speed.
